| Section | Description |
|---|---|
| 1. Introduction | Brief overview of diapering and why having the right essentials is crucial for parents and babies. |
| 2. Types of Diapers | Explanation of different diaper options, including cloth, disposable, and hybrid, with their pros and cons. |
| 3. Diapering Accessories | Overview of additional supplies needed for effective diapering, such as wipes, creams, and bags. |
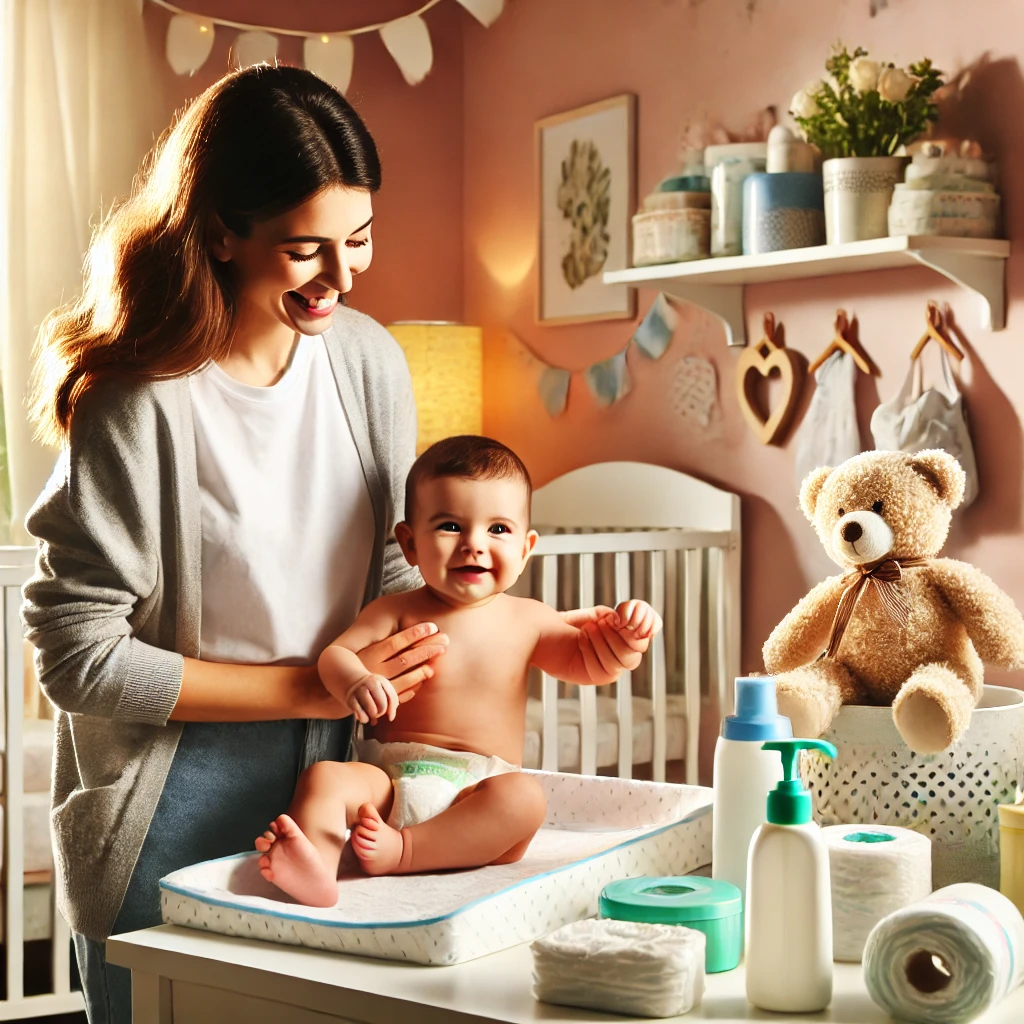
| 4. Setting Up a Diapering Station | Tips for creating an organized and functional diapering area at home. |
| 5. Diapering on the Go | Must-have items and practical advice for changing diapers outside the home. |
| 6. Diaper Rash Prevention and Care | Solutions to common issues like diaper rash, leaks, and finding the right diaper size. |
| 7. How to Choose the Right Diapering Products | Choosing the right diapering products is essential to keeping your baby comfortable, clean, and rash-free. |
| 8. FAQs About Diapering Essentials | Answers to frequently asked questions about diapering basics and products. |
| 9. Conclusion | Recap of the importance of preparation and encouragement for new parents. |
When it comes to caring for a baby, diapering is one of the most frequent and essential tasks parents will face. From newborns needing multiple changes a day to toddlers transitioning to potty training, the process of keeping your baby dry and comfortable is a significant part of daily life. Having the right diapering essentials can make this routine smoother, more hygienic, and less stressful.
Affiliate Disclosure: This post contains affiliate links! As an affiliate, I may receive a small commission at no extra cost to you. I purchased some of this product myself to provide a completely honest review. All opinions are my own. Thank you for supporting Blessed Cute Babies!
Diapering isn’t just about keeping your baby clean; it’s also a time to bond with your child, ensuring their comfort while addressing their immediate needs. Without the proper tools and setup, however, diaper changes can quickly become a source of frustration for parents.
In this guide, we’ll explore everything you need to know about diapering essentials, from choosing the right diapers to creating an organized diapering station and tackling common challenges like diaper rash. Whether you’re a first-time parent or looking to refine your diapering game, this comprehensive resource will ensure you’re fully prepared for the journey ahead.
Let’s dive into the world of diapering and discover how the right essentials can simplify your parenting experience!
Types of Diapers
Choosing the right type of diaper is one of the most important decisions parents make when preparing for diapering. Each option has its benefits and drawbacks, and understanding these can help you select what works best for your baby and lifestyle. Let’s explore the three main types of diapers: disposable, cloth, and hybrid.
1. Disposable Diapers for diapering essentials
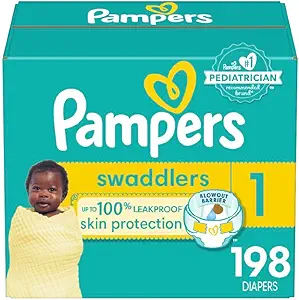
Disposable diapers are the go-to choice for many parents because of their convenience. They are designed for single use, making them easy to change and dispose of.
Benefits:
- Convenience: Ideal for busy parents, especially during nighttime changes or travel.
- Absorbency: Offers excellent moisture-locking technology, keeping your baby dry and comfortable.
- Variety: Available in various sizes and brands, such as Pampers Swaddlers and Huggies Little Snugglers.
Drawbacks:
- Cost: More expensive over time compared to reusable options.
- Environmental Impact: Contributes to landfill waste since they are not biodegradable.
Example: Sarah, a first-time mom, chose Pampers Swaddlers for her newborn. She appreciated the wetness indicator that changed color, letting her know when it was time for a change.
2. Cloth Diapers for diapering essentials.
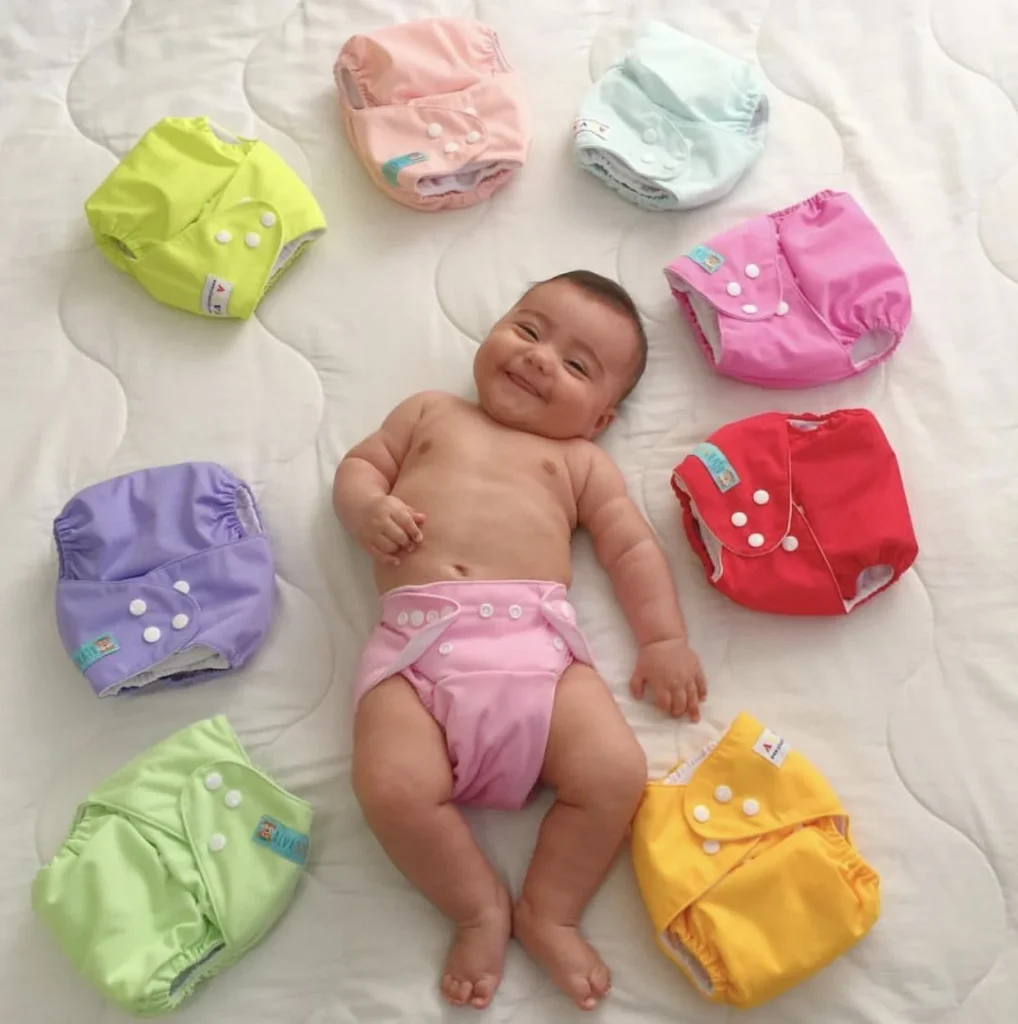
Cloth diapers have come a long way from the traditional folded cloth and safety pins. Modern versions are reusable, adjustable, and come in various styles like pre-folds, all-in-ones, and pocket diapers.
Benefits:
- Eco-Friendly: A sustainable option, reducing waste compared to disposables.
- Cost-Effective: Higher upfront cost, but saves money in the long run.
- Gentle on Skin: Often made with soft, breathable fabrics that minimize irritation.
Drawbacks:
- Time-Consuming: Requires regular washing and maintenance.
- Less Convenient: Not as travel-friendly as disposable options.
Example: Emma, a mother of two, uses AlvaBaby cloth diapers for her toddler. She loves the fun patterns and how they’ve saved her hundreds of dollars over time.
3. Hybrid Diapers for diapering essentials
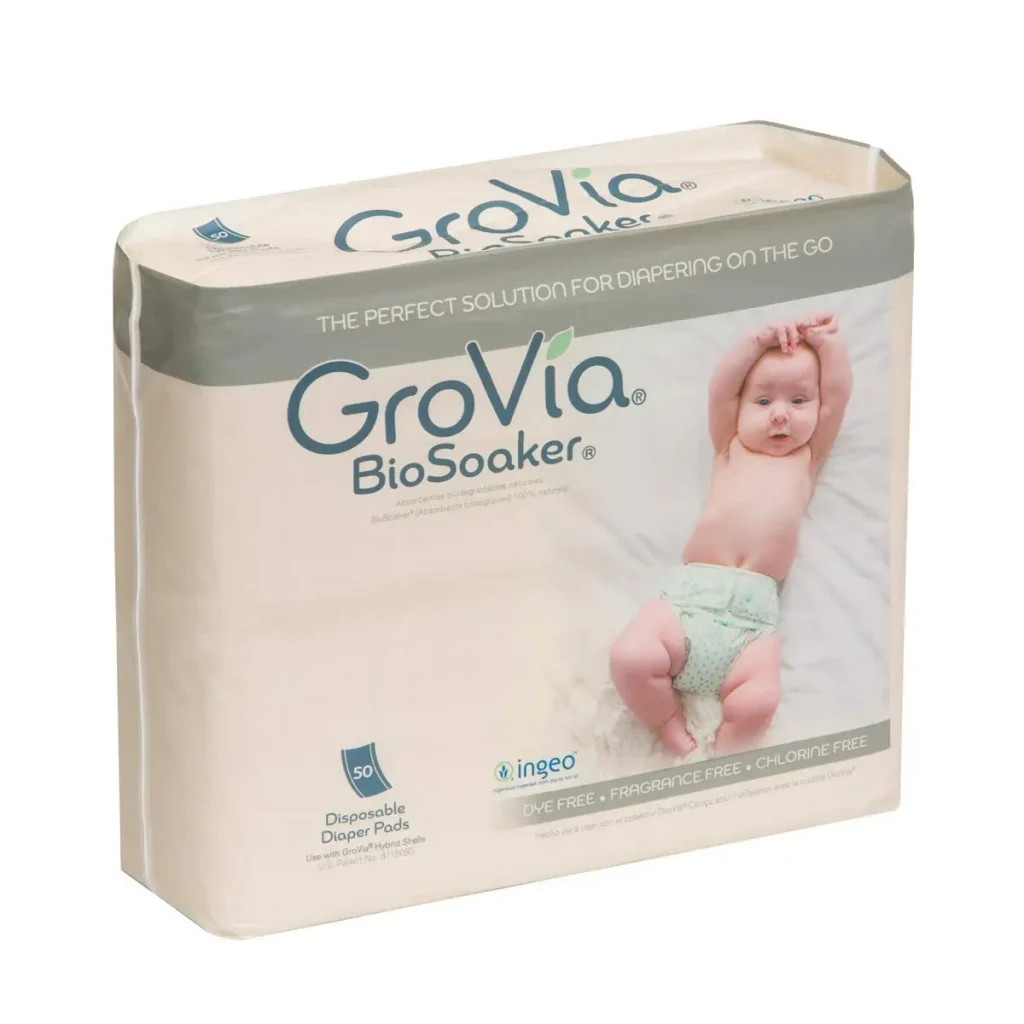
Hybrid diapers offer the best of both worlds, combining reusable covers with disposable or washable inserts. They provide flexibility for parents who want an eco-conscious solution without sacrificing convenience.
Benefits:
- Versatile: You can switch between washable and disposable inserts based on your needs.
- Reduced Waste: Fewer disposables are used compared to traditional disposable diapers.
Drawbacks:
- Learning Curve: Requires some trial and error to get used to.
- Initial Cost: The reusable covers and inserts can be pricey upfront.
Example: Lisa found hybrid diapers, like GroVia Hybrids, to be a lifesaver. She used washable inserts at home and disposable inserts during family vacations.
In summary, the type of diaper you choose will depend on your priorities—whether it’s convenience, sustainability, or cost-effectiveness. Many parents opt to mix and match, using disposable diapers for outings and cloth or hybrids at home.
Diapering Accessories
Diapering isn’t just about the diapers. Having the right accessories ensures that every diaper change is smooth, hygienic, and convenient. Let’s explore some must-have diapering accessories, their importance, and how they enhance the diapering experience.
1. Baby Wipes
Baby wipes are essential for cleaning your baby during diaper changes. They are gentle, effective, and convenient.
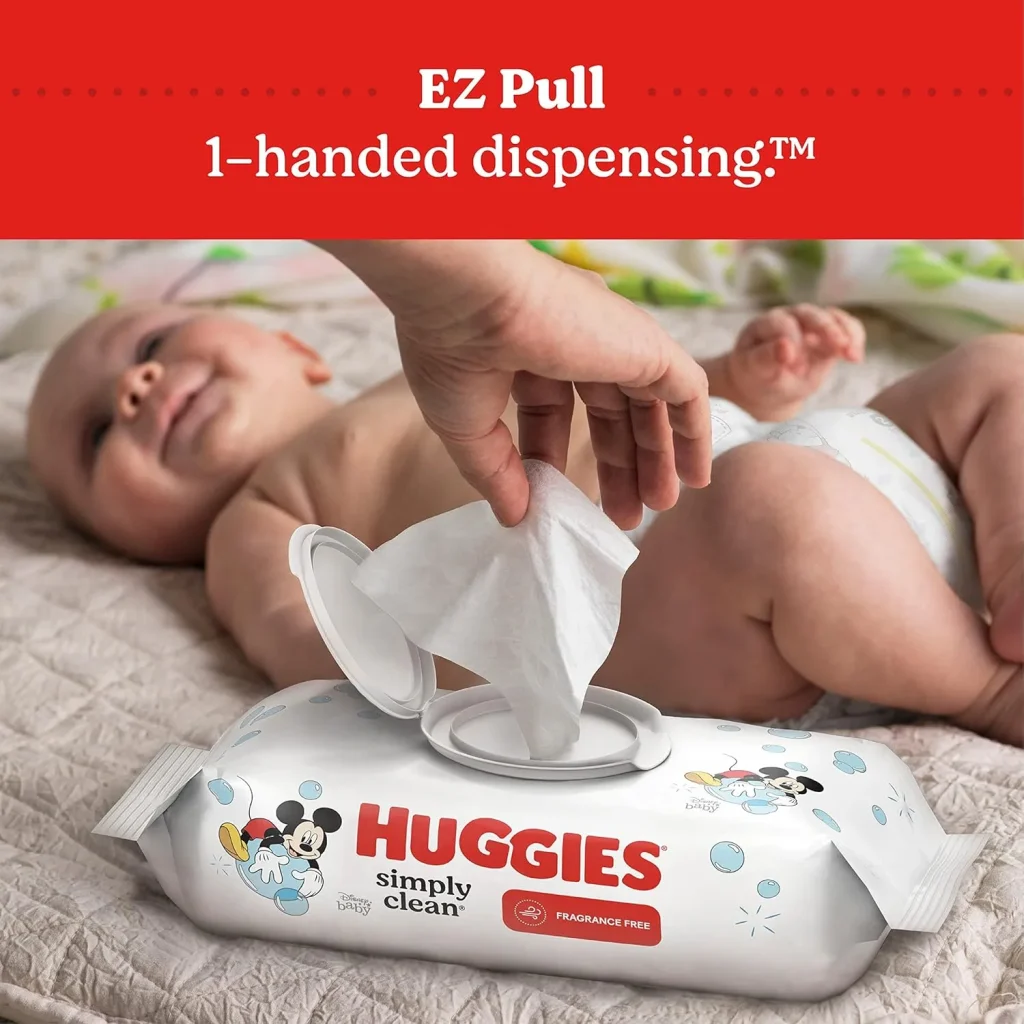
What to Look For:
- Hypoallergenic and alcohol-free options to prevent irritation.
- Brands like Huggies Natural Care Wipes or WaterWipes, which are made with minimal ingredients and suitable for sensitive skin.
Example: Maria noticed her newborn’s skin was sensitive to standard wipes. Switching to WaterWipes, which contain 99.9% water, prevented rashes and kept her baby comfortable.
2. Diaper Rash Cream or Ointment
Diaper rash creams protect your baby’s skin from irritation and treat redness or rashes caused by moisture or friction.
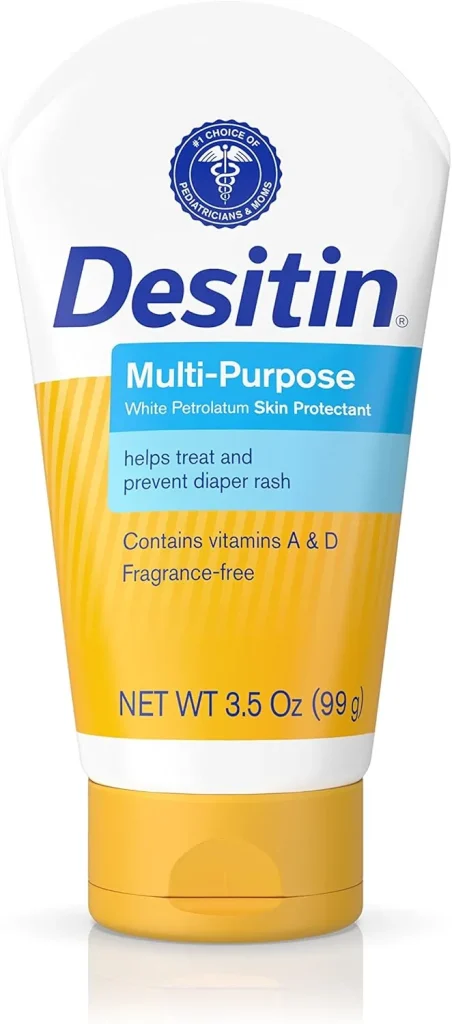
Popular Choices:
- Desitin Maximum Strength: Ideal for treating severe diaper rashes.
- Aquaphor Baby Healing Ointment: Great for daily use to prevent irritation.
Example: When Noah developed a rash due to frequent changes, his mother applied Desitin, and the redness reduced significantly within a day.
3. Diaper Bag
A diaper bag is a parent’s best friend when on the go. It keeps all your essentials organized and within easy reach.
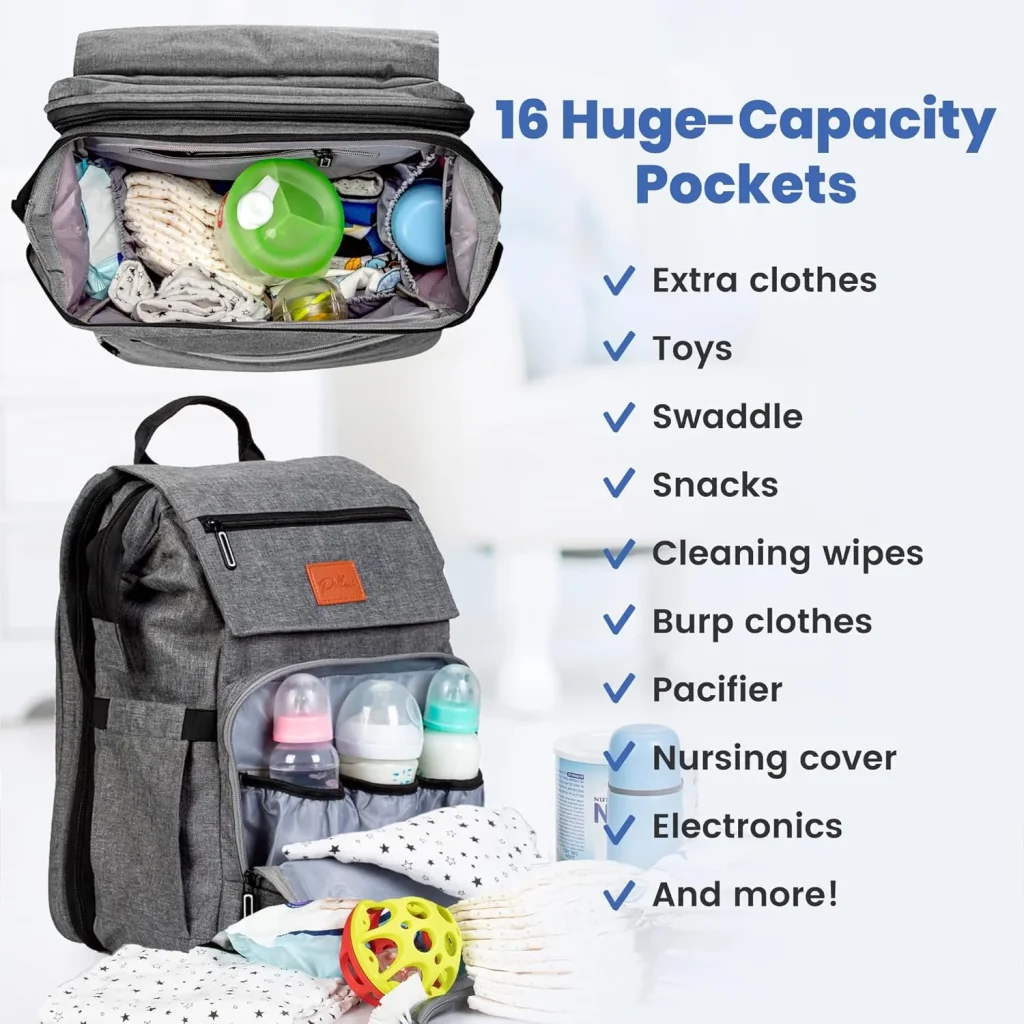
Features to Consider:
- Multiple compartments for easy organization.
- Lightweight and stylish designs like Skip Hop Forma Diaper Backpack or Itzy Ritzy Boss Bag.
Example: For her first outing with her baby, Jessica packed her Skip Hop Forma backpack. Its insulated pockets kept bottles warm, and the roomy interior fit diapers, wipes, and extra clothes effortlessly.
4. Changing Pad
A waterproof changing pad ensures that diaper changes are clean and mess-free, whether at home or on the go.
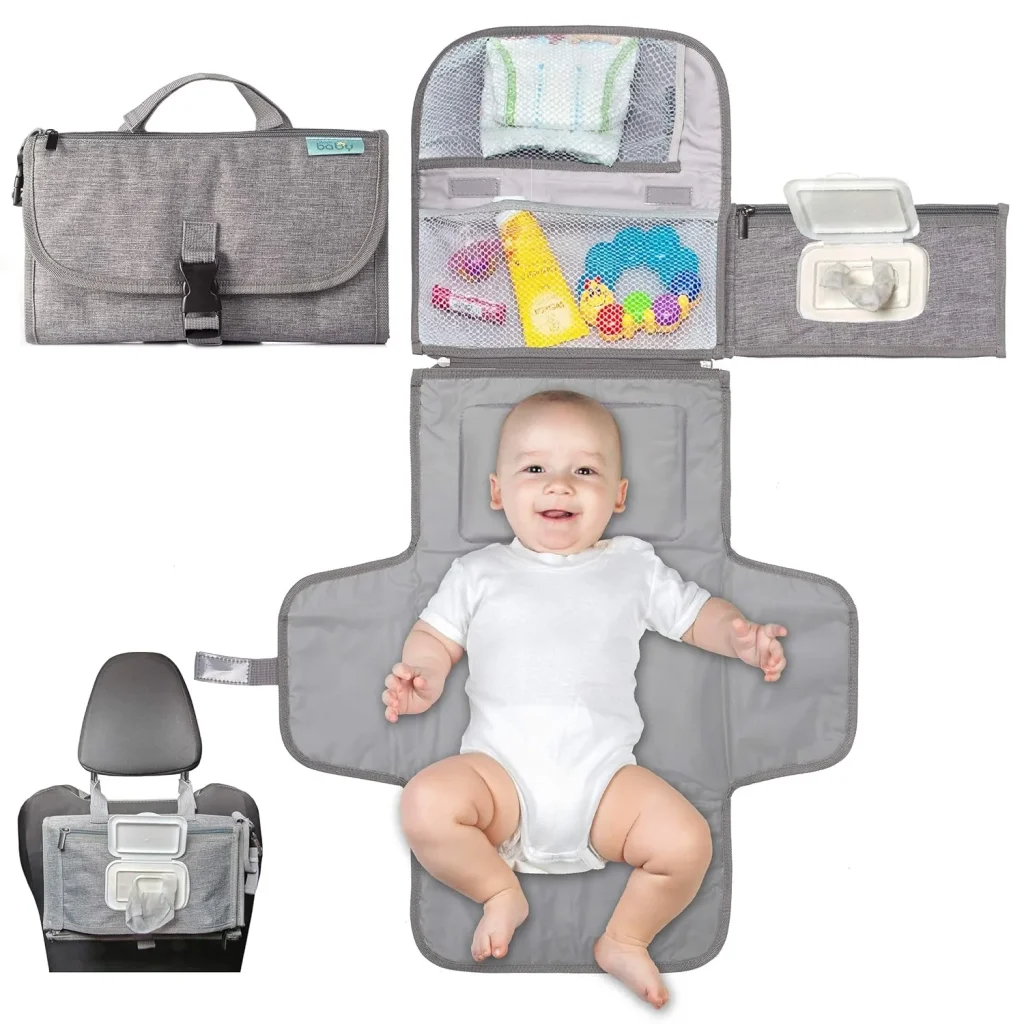
Types:
- Portable Changing Pads: Compact and easy to carry, like the Munchkin Arm and Hammer Disposable Pads.
- Stationary Changing Pads: Larger and often cushioned, such as the Summer Infant Contoured Changing Pad.
Example: David always carried a portable changing pad in his diaper bag for quick changes during grocery trips or visits to the park.
5. Diaper Pail
A diaper pail helps contain odors from soiled diapers, keeping your home smelling fresh.
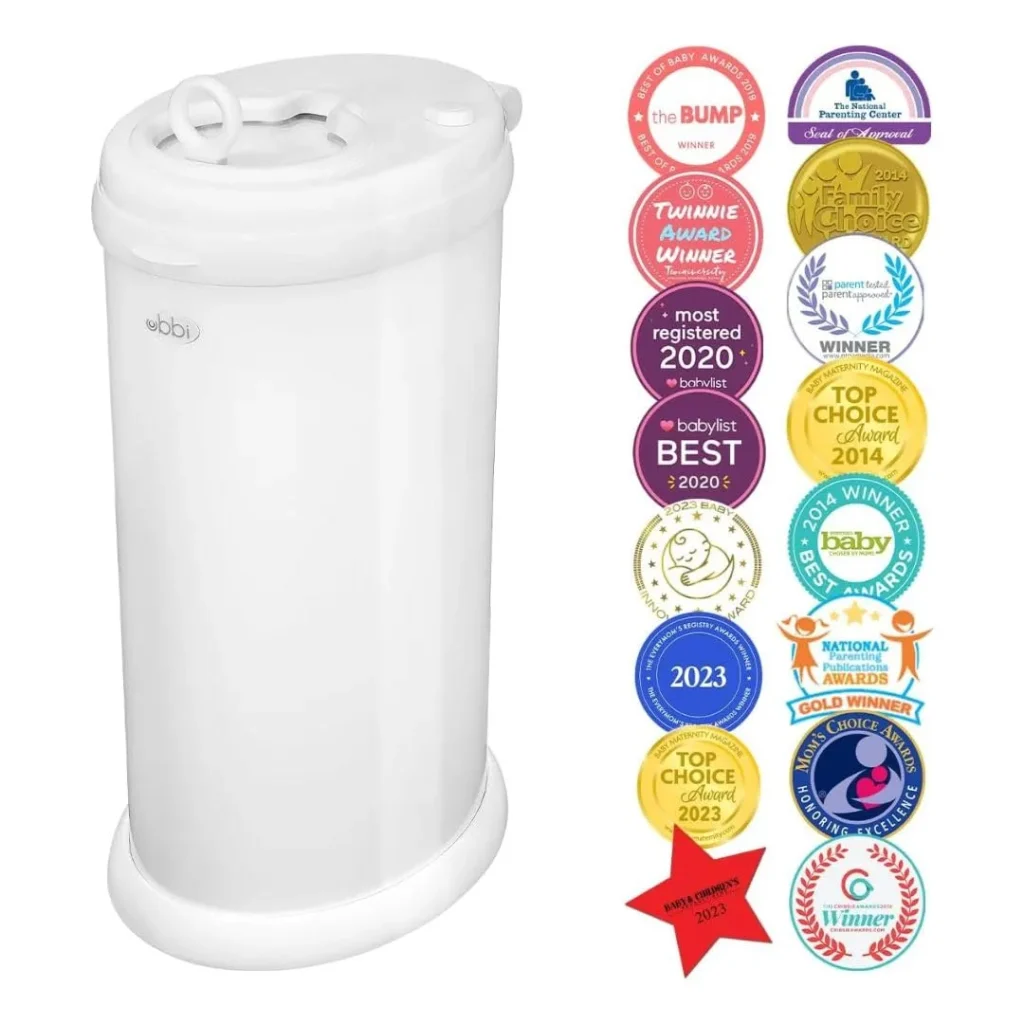
Recommended Options:
- Ubbi Steel Diaper Pail: Odor-locking steel design and compatible with regular trash bags.
- Dekor Classic Hands-Free Diaper Pail: Affordable and convenient for quick disposal.
Example: Rebecca found the Ubbi diaper pail essential for her small apartment, as it completely sealed in unpleasant smells.
6. Disposable Diaper Sacks
These small plastic bags are perfect for sealing used diapers when a pail isn’t available, especially during travel.
Example: While on vacation, Alan and his wife used disposable diaper sacks for their baby’s diapers, keeping the hotel room fresh and clean.
7. Baby Wipe Warmer (Optional)
For extra comfort during colder months, some parents prefer warming wipes to avoid startling their baby.
Example: Lisa swears by her Munchkin Warm Glow Wipe Warmer during winter, as her baby became less fussy during changes.
With these accessories, diapering becomes less stressful and more efficient, ensuring your baby stays comfortable and happy while simplifying your routine.
Setting Up a Diapering Station
Creating an organized and functional diapering station at home is a game-changer for new parents. Having all your essentials in one place ensures that diaper changes are quick, stress-free, and hygienic. Here’s a step-by-step guide to setting up the perfect diapering station.
1. Choosing the Right Location
Select a safe, accessible spot in your home where you’ll change most of your baby’s diapers.
- Ideal Spot: A nursery corner, bedroom, or bathroom with enough space for storage and movement.
- Safety Tip: Always ensure the area is stable and at a comfortable height to avoid strain on your back.
Example: Mia set up her diapering station in the corner of her living room. She used a sturdy changing table and added a small storage shelf nearby.
2. Essential Components of a Diapering Station
A well-equipped diapering station should include the following:
- Changing Table or Surface:
- A safe, padded changing table like the Delta Children Eclipse Changing Table.
- Alternatively, use a dresser with a changing pad for dual functionality.
- Storage Solutions:
- Use baskets or bins for organizing diapers, wipes, creams, and other essentials.
- Labeling storage containers can save time, especially during nighttime changes.
- Waterproof Changing Pad:
- A must-have for preventing messes. Consider options like the Summer Infant Contoured Changing Pad for comfort and protection.
- Diaper Pail:
- Place a diaper pail, such as the Ubbi Steel Diaper Pail, nearby for convenient disposal of soiled diapers.
3. Organizing Your Diapering Essentials
The key to an effective diapering station is organization.
- Top Shelf or Drawer: Store items used frequently, like diapers and wipes.
- Middle Shelf: Place creams, lotions, and powders.
- Lower Shelf: Use for backup supplies, extra diapers, and reusable liners.
Example: Jessica used a 3-tier rolling cart to store all her diapering essentials, making it easy to move the station around the house.
4. Safety Measures for Diapering Essentials
When setting up your diapering station, safety should be a top priority:
- Secure the Changing Pad: Use safety straps to keep the pad in place.
- Never Leave Your Baby Unattended: Always keep one hand on your baby, even when reaching for supplies.
- Use Childproof Containers: Store creams and powders in childproof containers to avoid accidental ingestion.
5. Personal Touches
Make your diapering station a pleasant space for both you and your baby.
- Add a small basket of toys to keep your baby entertained during changes.
- Use soft lighting, such as a nightlight, for nighttime changes.
Example: Sarah added a mobile above her changing table to keep her baby engaged while she changed diapers.
Setting up a diapering station may take a little time and effort, but it will save you countless moments of frustration in the long run. Having a designated, well-stocked area ensures that you’re always ready for your baby’s needs.
Diapering on the Go
Diapering outside the comfort of your home can seem daunting, but with the right preparation, it can be a breeze. Whether you’re running errands, traveling, or enjoying family outings, having a well-organized diaper bag and knowing a few tips can make diaper changes convenient and stress-free.
1. Packing the Perfect Diaper Bag
A well-packed diaper bag is your best ally when it comes to diapering on the go. Here’s what you need:
- Diapers: Pack 1–2 diapers for every hour you plan to be away.
- Wipes: Opt for travel-sized packs like Pampers Sensitive Baby Wipes Travel Pack.
- Changing Pad: A portable changing pad ensures you have a clean surface anywhere. Consider the Skip Hop Portable Changing Pad for its compact and easy-to-clean design.
- Diaper Cream: Small tubes or travel-sized jars of cream are ideal for preventing diaper rash.
- Disposable Diaper Sacks: Handy for containing dirty diapers when a trash bin isn’t nearby.
- Extra Clothes: Always include a backup outfit in case of leaks or blowouts.
Example: While taking her 6-month-old to the park, Maria realized she forgot extra wipes. Since then, she created a checklist and always double-checks her diaper bag before leaving.
2. Finding Changing Stations
Public changing stations are a lifesaver, but knowing where to find them can save time and effort.
- Retail Stores: Look for family-friendly stores like Target or Walmart, which often have dedicated baby-changing areas.
- Restaurants and Cafes: Many offer restrooms with changing tables.
- Travel Tip: Use apps like FindBabyChangingStations to locate nearby facilities.
Example: During a road trip, John and his wife used a rest stop’s changing station. They also kept a portable changing pad handy for unexpected outdoor changes.
3. Diapering Without a Changing Station
Sometimes, a changing station isn’t available, and you’ll need to improvise. Here’s how:
- Back Seat of a Car: Lay down a changing pad for quick diaper swaps.
- Park Bench or Grass: Use a waterproof changing pad to protect your baby from dirt.
- Stroller Bassinet: Works as an emergency surface if you’re out for a stroll.
Example: While shopping downtown, Sarah couldn’t find a changing table, so she changed her baby in her car using her trusty portable pad.
4. Managing Odors on the Go
Containing smells from used diapers is essential when you’re out and about.
- Disposable Diaper Sacks: Seal diapers in a bag before throwing them in the trash.
- Odor-Blocking Bags: Some brands, like Munchkin Arm & Hammer Odor-Control Bags, come with baking soda for extra freshness.
Example: Emily keeps a roll of odor-blocking bags in her diaper bag. They’re compact and prevent her diaper bag from smelling unpleasant.
5. Being Prepared for Emergencies
No matter how prepared you are, accidents can happen. Here are some tips for handling the unexpected:
- Keep Extras Handy: Pack more diapers and wipes than you think you’ll need.
- Use a Wet/Dry Bag: Perfect for storing soiled clothes or reusable cloth diapers until you can wash them.
- Bring Hand Sanitizer: Essential for cleaning your hands when soap and water aren’t available.
Example: During a family picnic, Emma’s baby had a diaper blowout. Luckily, she had a wet bag to store the messy clothes and spare onesies to keep her baby clean and comfy.
6. Tips for Travel Diapering Essentials
Traveling with a baby requires extra planning.
- Long Flights or Car Rides: Use high-capacity diapers like Huggies OverNites to minimize changes.
- Pack Smart: Use travel-sized versions of your diapering essentials to save space.
- Portable Diaper Stations: Compact and multi-functional, such as the Lulyboo Travel Bassinet and Changing Station, are a game-changer for frequent travelers.
Example: On their flight to visit grandparents, Olivia and James packed an extra diaper bag in their carry-on to avoid any in-flight diaper emergencies.
Diapering on the go doesn’t have to be stressful. With a little preparation, the right accessories, and a calm approach, you can handle any situation with ease while keeping your baby clean and comfortable.
Diaper Rash Prevention and Care
Diaper rash is a common issue for babies, but with the right knowledge and care, it can be minimized or treated effectively. Understanding the causes of diaper rash and knowing how to prevent and treat it is an essential part of the diapering essentials toolkit. Here’s everything you need to know about diaper rash prevention and care.
1. Understanding Diaper Rash Causes
Diaper rash can occur for various reasons, including:
- Prolonged Moisture Exposure: Wet diapers left on for too long can irritate your baby’s skin.
- Friction: Tight-fitting diapers or vigorous wiping can cause skin irritation.
- Sensitivity to Diaper Materials: Some babies are sensitive to chemicals or dyes in disposable diapers or wipes.
- Antibiotics: Medications can sometimes lead to rashes by disrupting the balance of bacteria in the body.
Example: When Michael’s baby developed a rash after a long car ride, he realized it was due to the baby’s wet diaper being left on for several hours.
2. Preventing Diaper Rash
Prevention is key, and there are several strategies to help avoid diaper rash:
- Frequent Diaper Changes: Change your baby’s diaper every 2-3 hours, and immediately after they’ve had a bowel movement.
- Use Breathable Diapers: Choose diapers that are designed for better airflow, such as Pampers Pure Protection or Huggies Little Snugglers.
- Gentle Wipes: Use fragrance-free, alcohol-free wipes to clean your baby gently, such as WaterWipes.
- Let Baby’s Skin Air Dry: After each change, allow your baby’s bottom to air dry for a few minutes before putting on a fresh diaper.
Example: Lucy made it a point to always change her baby’s diaper before long naps or drives, preventing the rashes that had previously developed when she forgot to do so.
3. Choosing the Right Diaper Rash Cream
When your baby does get a rash, applying the right cream or ointment can soothe the skin and speed up healing. Here are some top choices:
- Desitin Maximum Strength: Ideal for severe rashes, providing a thick barrier to protect and heal the skin.
- A&D Ointment: A classic option that combines soothing ingredients like vitamin A and D.
- Aquaphor Baby Healing Ointment: Great for daily use to prevent rashes and keep skin moisturized.
Example: After applying Desitin Maximum Strength to her baby’s red rash, Maya saw improvement within 24 hours, and her baby’s skin became soft and smooth again.
4. Natural Remedies for Diaper Rash
Some parents prefer using natural products to treat diaper rash. Here are a few options:
- Coconut Oil: Known for its moisturizing and anti-inflammatory properties, coconut oil can soothe mild diaper rashes.
- Aloe Vera Gel: This plant-based gel can provide cooling relief and help heal irritated skin.
- Oatmeal Baths: Soaking your baby in an oatmeal bath can help reduce redness and soothe the skin.
Example: Sarah’s baby developed a mild rash from teething, and she found relief by applying organic coconut oil to the affected area twice a day.
5. When to See a Doctor
While diaper rashes can usually be treated at home, sometimes they require medical attention. Look for signs that indicate a need to consult a pediatrician:
- Persistent Rash: If the rash doesn’t improve after a few days or worsens despite treatment.
- Fever or Blisters: If your baby develops a fever or blisters around the rash, this could indicate an infection.
- Yeast Infections: Rashes that are bright red with red spots or a distinct border could be signs of a yeast infection, which may require antifungal treatment.
Example: After trying various creams without success, Lucy took her baby to the pediatrician, who diagnosed a yeast infection and prescribed a topical antifungal cream.
6. Diapering and Skin Care Routine
Incorporating diaper care into your baby’s daily routine will keep their skin healthy and comfortable:
- Gentle Cleaning: Use a soft, damp cloth or wipe, and be gentle when cleaning your baby’s bottom.
- Moisturizing: After diaper changes, apply a thin layer of diaper rash cream or natural oil to keep the skin soft and hydrated.
- Avoid Powders: Baby powders can irritate the skin if they are inhaled or absorbed by the skin. It’s better to stick with creams or ointments for rash prevention.
Example: Emily’s baby has sensitive skin, so she always applies a thin layer of Aquaphor Baby Healing Ointment after each change to prevent irritation and keep the skin healthy.
By understanding the causes of diaper rash, knowing how to prevent it, and having the right products on hand, you can keep your baby comfortable and rash-free. Remember, consistency is key in diaper care, and a little extra attention goes a long way in protecting your baby’s delicate skin.
How to Choose the Right Diapering Products
Choosing the right diapering products is essential to keeping your baby comfortable, clean, and rash-free. With so many options available, it can be overwhelming to make the best choice for your baby. Here’s a guide to help you select the right diapers, wipes, creams, and accessories based on your baby’s needs and lifestyle.
1. Choosing the Best Diapers
When it comes to diapers, there are two main types: disposable and cloth. Each has its benefits, but the right choice depends on your preferences, budget, and your baby’s needs.
- Disposable Diapers: These are convenient, easy to use, and come in a variety of options for different skin types and sizes. Popular brands include Pampers Swaddlers, Huggies Little Snugglers, and Luvs Ultra Leakguards. They are designed to be absorbent, comfortable, and easy to dispose of, making them a great choice for busy parents.Example: After trying multiple brands, Alice settled on Pampers Swaddlers for her newborn due to their soft, breathable material and excellent leak protection, which provided peace of mind during her baby’s longer naps.
- Cloth Diapers: These are eco-friendly and cost-effective in the long run. They require more effort to wash and dry, but many parents swear by their reliability and gentleness on sensitive skin. Brands like AlvaBaby and BumGenius offer high-quality cloth diapers that are reusable and come in a variety of sizes.
- Example: Alex decided to use cloth diapers for his baby after learning about their environmental impact. He found that, although cloth diapers required more effort, they saved him money and provided a more natural option for his baby’s sensitive skin.
2. Selecting the Right Wipes
Choosing the right baby wipes can make all the difference in your diapering routine. Look for wipes that are gentle on your baby’s skin, free from harmful chemicals, and easily accessible during diaper changes.
- Fragrance-Free Wipes: Opt for wipes like WaterWipes that are made from 99.9% water and free from artificial fragrances, making them perfect for babies with sensitive skin.Example: Claire was concerned about her baby’s sensitive skin, so she switched to WaterWipes to avoid any irritation. After a few uses, she noticed a significant reduction in redness around her baby’s bottom.
- Eco-Friendly Wipes: Brands like The Honest Company and Babyganics offer eco-friendly wipes that are biodegradable and made with plant-based ingredients. These are great choices for parents who want to prioritize sustainability.Example: Rachel switched to The Honest Company wipes after reading about their eco-friendly materials and gentle ingredients. Not only did her baby’s skin stay rash-free, but she also felt good about reducing waste.
3. Choosing the Right Diaper Rash Cream
Diaper rash cream is an essential item for every diapering routine, as it helps soothe and protect your baby’s skin. When choosing a cream, make sure it is gentle, effective, and free of harmful chemicals.
- Petroleum-Free Creams: Products like Aquaphor Baby Healing Ointment and Burt’s Bees Baby Diaper Ointment are free from petroleum and parabens, making them a safer option for your baby’s delicate skin.Example: When Sophie’s baby developed a rash, she used Aquaphor Baby Healing Ointment. Within a day, the rash began to fade, and her baby’s skin was soft again.
- Zinc Oxide Creams: Creams with zinc oxide, like Desitin Maximum Strength, create a thick barrier on the skin, preventing further irritation and speeding up healing.Example: After trying several creams without much success, James used Desitin Maximum Strength for his baby’s stubborn diaper rash. The thick formula worked wonders, providing fast relief.
4. Other Diapering Accessories to Consider
There are a variety of accessories that can make diapering easier and more efficient. Here are a few that every parent should consider:
- Diaper Bag: A spacious, well-organized diaper bag is essential for on-the-go diaper changes. Brands like Skip Hop and Ju-Ju-Be offer functional and stylish diaper bags that provide plenty of storage space for diapers, wipes, and other essentials.Example: Anna bought a Skip Hop diaper bag that had multiple compartments for storing wipes, diapers, and baby clothes. It made diaper changes in public places much easier.
- Portable Changing Pad: A portable changing pad like the Skip Hop Pronto Changing Station makes it easy to change your baby wherever you are, ensuring a clean and comfortable surface.Example: During her trip to the mall, Emma used a portable changing pad to quickly change her baby in the car. She loved how easy it was to clean and store.
- Diaper Pail: A diaper pail like Diaper Genie helps contain odors and keeps your nursery smelling fresh. It’s an essential tool for parents using disposable diapers.Example: After the first week of using Diaper Genie, Noah noticed a huge difference in the smell of his nursery. It made a big impact on the air quality in his baby’s room.
5. Consider Your Baby’s Sensitivities
When choosing any diapering product, be mindful of your baby’s skin sensitivities. Babies with eczema or other skin conditions may need specialized diapers and wipes that are hypoallergenic and free from harsh chemicals. Always choose products designed for sensitive skin, and if your baby has a known sensitivity, consult your pediatrician before introducing new products.
Example: Julie’s baby had mild eczema, so she opted for hypoallergenic diapers from Seventh Generation and fragrance-free wipes from WaterWipes. This helped prevent flare-ups and kept her baby’s skin smooth.
Selecting the right diapering essentials can make diapering easier and more comfortable for both you and your baby. From diapers to creams to accessories, it’s all about finding the products that fit your baby’s needs while also considering your lifestyle.
FAQ: Diapering Essentials
1. What is the best type of diaper for newborns?
For newborns, disposable diapers are often the most convenient and effective. They are highly absorbent and designed to fit snugly, preventing leaks. Popular brands include Pampers Swaddlers and Huggies Little Snugglers. If you prefer cloth diapers, AlvaBaby and BumGenius are great options, though they require more maintenance.
2. How often should I change my baby’s diaper?
It’s recommended to change your baby’s diaper every 2-3 hours during the day, and immediately after a bowel movement. Babies with sensitive skin or those prone to diaper rash may need more frequent changes to keep their skin healthy.
3. What can I use to prevent diaper rash?
To prevent diaper rash, use fragrance-free wipes and apply a layer of diaper rash cream (like Desitin or Aquaphor) after each change. Make sure to let your baby’s bottom air dry for a few minutes before putting on a fresh diaper. Keeping your baby’s skin dry and clean is key.
4. Are there any natural remedies for diaper rash?
Yes, several natural remedies can soothe diaper rash, including coconut oil, aloe vera gel, and oatmeal baths. These options are gentle and can help reduce inflammation and redness. However, for severe rashes, it’s important to consult a pediatrician for the right treatment.
5. What are the best diapering wipes for sensitive skin?
For babies with sensitive skin, opt for wipes that are fragrance-free, alcohol-free, and hypoallergenic. WaterWipes are a popular choice as they are made from 99.9% water. The Honest Company and Babyganics also offer gentle, eco-friendly wipes that are safe for sensitive skin.
6. Can I use cloth diapers overnight?
Yes, cloth diapers can be used overnight, but you may need to add an extra absorbent insert to prevent leaks. Make sure to choose a cloth diaper with good absorbency, such as BumGenius or GroVia, and check the fit to ensure it’s snug but comfortable for your baby.
7. How do I clean cloth diapers?
Cloth diapers should be washed with a gentle, fragrance-free detergent. Rinse them first to remove any waste, then wash them in warm water with detergent. Avoid fabric softeners, as they can reduce the absorbency of the diapers. Dry them in the sun or in a dryer on a low heat setting.
8. When should I start using diaper rash cream?
You can begin using diaper rash cream from birth, especially if your baby is prone to diaper rash. It’s always a good idea to apply a thin layer of cream after each diaper change to protect the skin and prevent irritation, even if no rash is visible.
9. Are diapering accessories necessary?
While diapering accessories like diaper bags, portable changing pads, and diaper pails aren’t absolutely necessary, they can make the diapering process more convenient and hygienic. For example, a diaper bag helps you stay organized while on the go, and a diaper pail ensures you contain odors effectively.
10. How do I know which diapering products are safe for my baby?
Always choose products that are hypoallergenic, free from harsh chemicals, and designed specifically for babies’ sensitive skin. Look for certifications like dermatologist-tested or pediatrician-approved to ensure the product is safe. If you’re unsure, consult your pediatrician for recommendations based on your baby’s specific needs.
11. Is cloth diapering worth it?
Cloth diapering can be worth it for families looking to reduce waste, save money in the long run, and use eco-friendly materials. While the initial investment for cloth diapers can be higher, the long-term savings can be significant compared to disposable diapers. Additionally, cloth diapers are reusable, making them a more sustainable option. However, they require more effort in terms of washing and maintenance, so it depends on your lifestyle and commitment to the process.
12. How does cloth diapering work?
Cloth diapering works by using reusable fabric diapers that you wash and reuse after each change. They consist of an absorbent layer (typically cotton, hemp, or bamboo) and a waterproof outer layer to prevent leaks. Cloth diapers often come in different styles, such as all-in-one, pocket, and fitted diapers. After a diaper change, you wash and dry the cloth diaper, then reuse it until it’s no longer usable.
13. Is cloth diapering cheaper?
Cloth diapering can be cheaper in the long run, as you only need to buy diapers once, and they can last through multiple children if cared for properly. While the initial cost of cloth diapers is higher compared to disposable ones, over time, you’ll save money by avoiding the constant repurchase of disposables. However, there are ongoing costs for detergent and water, which may add up depending on your laundry setup.
14. How can you prevent the spread of E. coli and urinary tract infections when diapering a baby girl?
To prevent the spread of E. coli and urinary tract infections (UTIs) when diapering a baby girl, always wipe from front to back. This prevents harmful bacteria from the anal area from spreading to the urinary tract. Make sure to change the diaper frequently to keep the area dry and clean. Using gentle, alcohol-free wipes can help prevent irritation, and be sure to keep the diaper area free from moisture by letting it air dry when possible.
15. What is cloth diapering?
Cloth diapering is the practice of using reusable fabric diapers for babies instead of disposable ones. These diapers are made from natural fibers like cotton, bamboo, or hemp, and have a waterproof outer layer to prevent leaks. After use, cloth diapers are washed and reused. Cloth diapering is an eco-friendly, cost-effective alternative to disposables, but it requires more time and effort for washing and drying.
16. When to start cloth diapering?
You can start cloth diapering as soon as your baby is born. Many parents use cloth diapers from birth, especially if they opt for a newborn cloth diaper set that is designed for smaller babies. However, some parents wait until their baby is a bit older and can fit into one-size cloth diapers, typically around 3-4 months old. It’s important to ensure that your baby’s skin is ready and that you have the proper diapering system in place before starting.
17. What can you do to prevent an extra mess when diapering a baby boy?
To prevent extra mess when diapering a baby boy, always ensure his penis is pointed downward in the diaper. This helps to avoid leaks and potential messes. You can also place a small cloth or wipe over his private area while changing to prevent him from urinating during the change. Be sure to keep a tight grip on the diaper to ensure it fits properly and prevents accidents.
18. Does double diapering work?
Double diapering, which involves putting one diaper over another to prevent leaks, can be effective in some situations, such as during overnight use or when your baby has a heavy wetting problem. It’s not recommended for everyday use because it can cause discomfort and irritation. However, in emergency situations or when you’re dealing with particularly heavy wetting, double diapering can provide added protection.
19. What are three safety and sanitation precautions you can take when diapering a baby?
Here are three essential safety and sanitation precautions when diapering a baby:
- Wash your hands thoroughly before and after diaper changes to prevent the spread of bacteria.
- Use clean surfaces when changing diapers, such as a sanitized changing table or portable changing mat.
- Store used diapers properly (in a diaper pail with a secure lid for disposables) to avoid the spread of germs and odors.
20. Does cloth diapering save money?
Yes, cloth diapering can save money in the long run. While the upfront cost of cloth diapers can be higher than disposables, they are reusable and can last through multiple children if cared for properly. By avoiding the ongoing expense of buying disposable diapers, you can save hundreds or even thousands of dollars over the years. The savings will vary depending on your laundry setup and the number of diapers you use, but the overall cost is generally lower than continuously buying disposables.
11. How many cloth diapers do I need?
The number of cloth diapers you need depends on how often you plan to do laundry and how quickly your baby goes through diapers. On average, parents need 20-30 diapers for a newborn, as they go through about 10-12 diapers per day. For older babies, around 20-24 diapers should be sufficient. You’ll also want to invest in several diaper covers or inserts to ensure you have enough for multiple changes throughout the day.
Conclusion and Final Tips
Choosing the right diapering essentials is crucial for both your baby’s comfort and your convenience. Whether you decide to use disposable or cloth diapers, the key is finding a system that fits your lifestyle and meets your baby’s needs. Proper diapering techniques, the right products, and a consistent routine can help make diaper changes less stressful, while also keeping your baby’s skin healthy and rash-free.
Final Tips:
- Stay Organized:
Keeping a well-stocked diapering station with all your essentials—diapers, wipes, creams, and a changing pad—can make each diaper change quicker and more efficient. Use a diaper caddy or a portable bag to keep everything within reach. - Choose Quality Products:
Quality diapers and wipes are essential to prevent leaks, rashes, and discomfort. Whether you’re using disposable diapers like Pampers Swaddlers or cloth options such as BumGenius, make sure you’re investing in products that are safe, durable, and gentle on your baby’s skin. - Regularly Monitor Baby’s Skin:
Frequent diaper changes and the application of a diaper rash cream or ointment will help keep your baby’s skin in top condition. Pay attention to any signs of irritation and treat them promptly to avoid further issues. - Master Diapering Techniques:
Learning the proper way to change a diaper and adjust it for comfort and security is vital for your baby’s well-being. For example, make sure that cloth diapers are fitted snugly to avoid leaks, and always wipe front to back for girls to prevent infections. - Plan for On-the-Go Diapering:
Having a diaper bag with all the necessary essentials—diapers, wipes, changing pad, and a spare set of clothes—is vital for when you’re out and about. Consider a wet bag to store dirty diapers until you can dispose of or clean them. - Stay Consistent with Laundry (for Cloth Diapers):
If you’re using cloth diapers, make sure you keep up with laundry to avoid running out. Typically, you’ll want to wash them every 2-3 days. Use a gentle, eco-friendly detergent to maintain their longevity and avoid skin irritation.
Remember:
Diapering may seem like a daunting task at first, but with the right knowledge and tools, it can become a manageable and routine part of your day. Take the time to choose the products that best suit your baby’s needs, and don’t hesitate to adjust your approach as your baby grows and their diapering needs evolve. Whether you go the disposable or cloth route, your goal is to keep your baby clean, comfortable, and happy—something any parent can achieve with a bit of practice and patience.

Leave a Reply